Vessel Rehab’s
Both vessels have survived their days in rehabilitation, I am happy to report. They ended up providing fodder for more surface finish and sculptural experimentation as well as providing the lessons on patience I mentioned in the earlier post. 😉
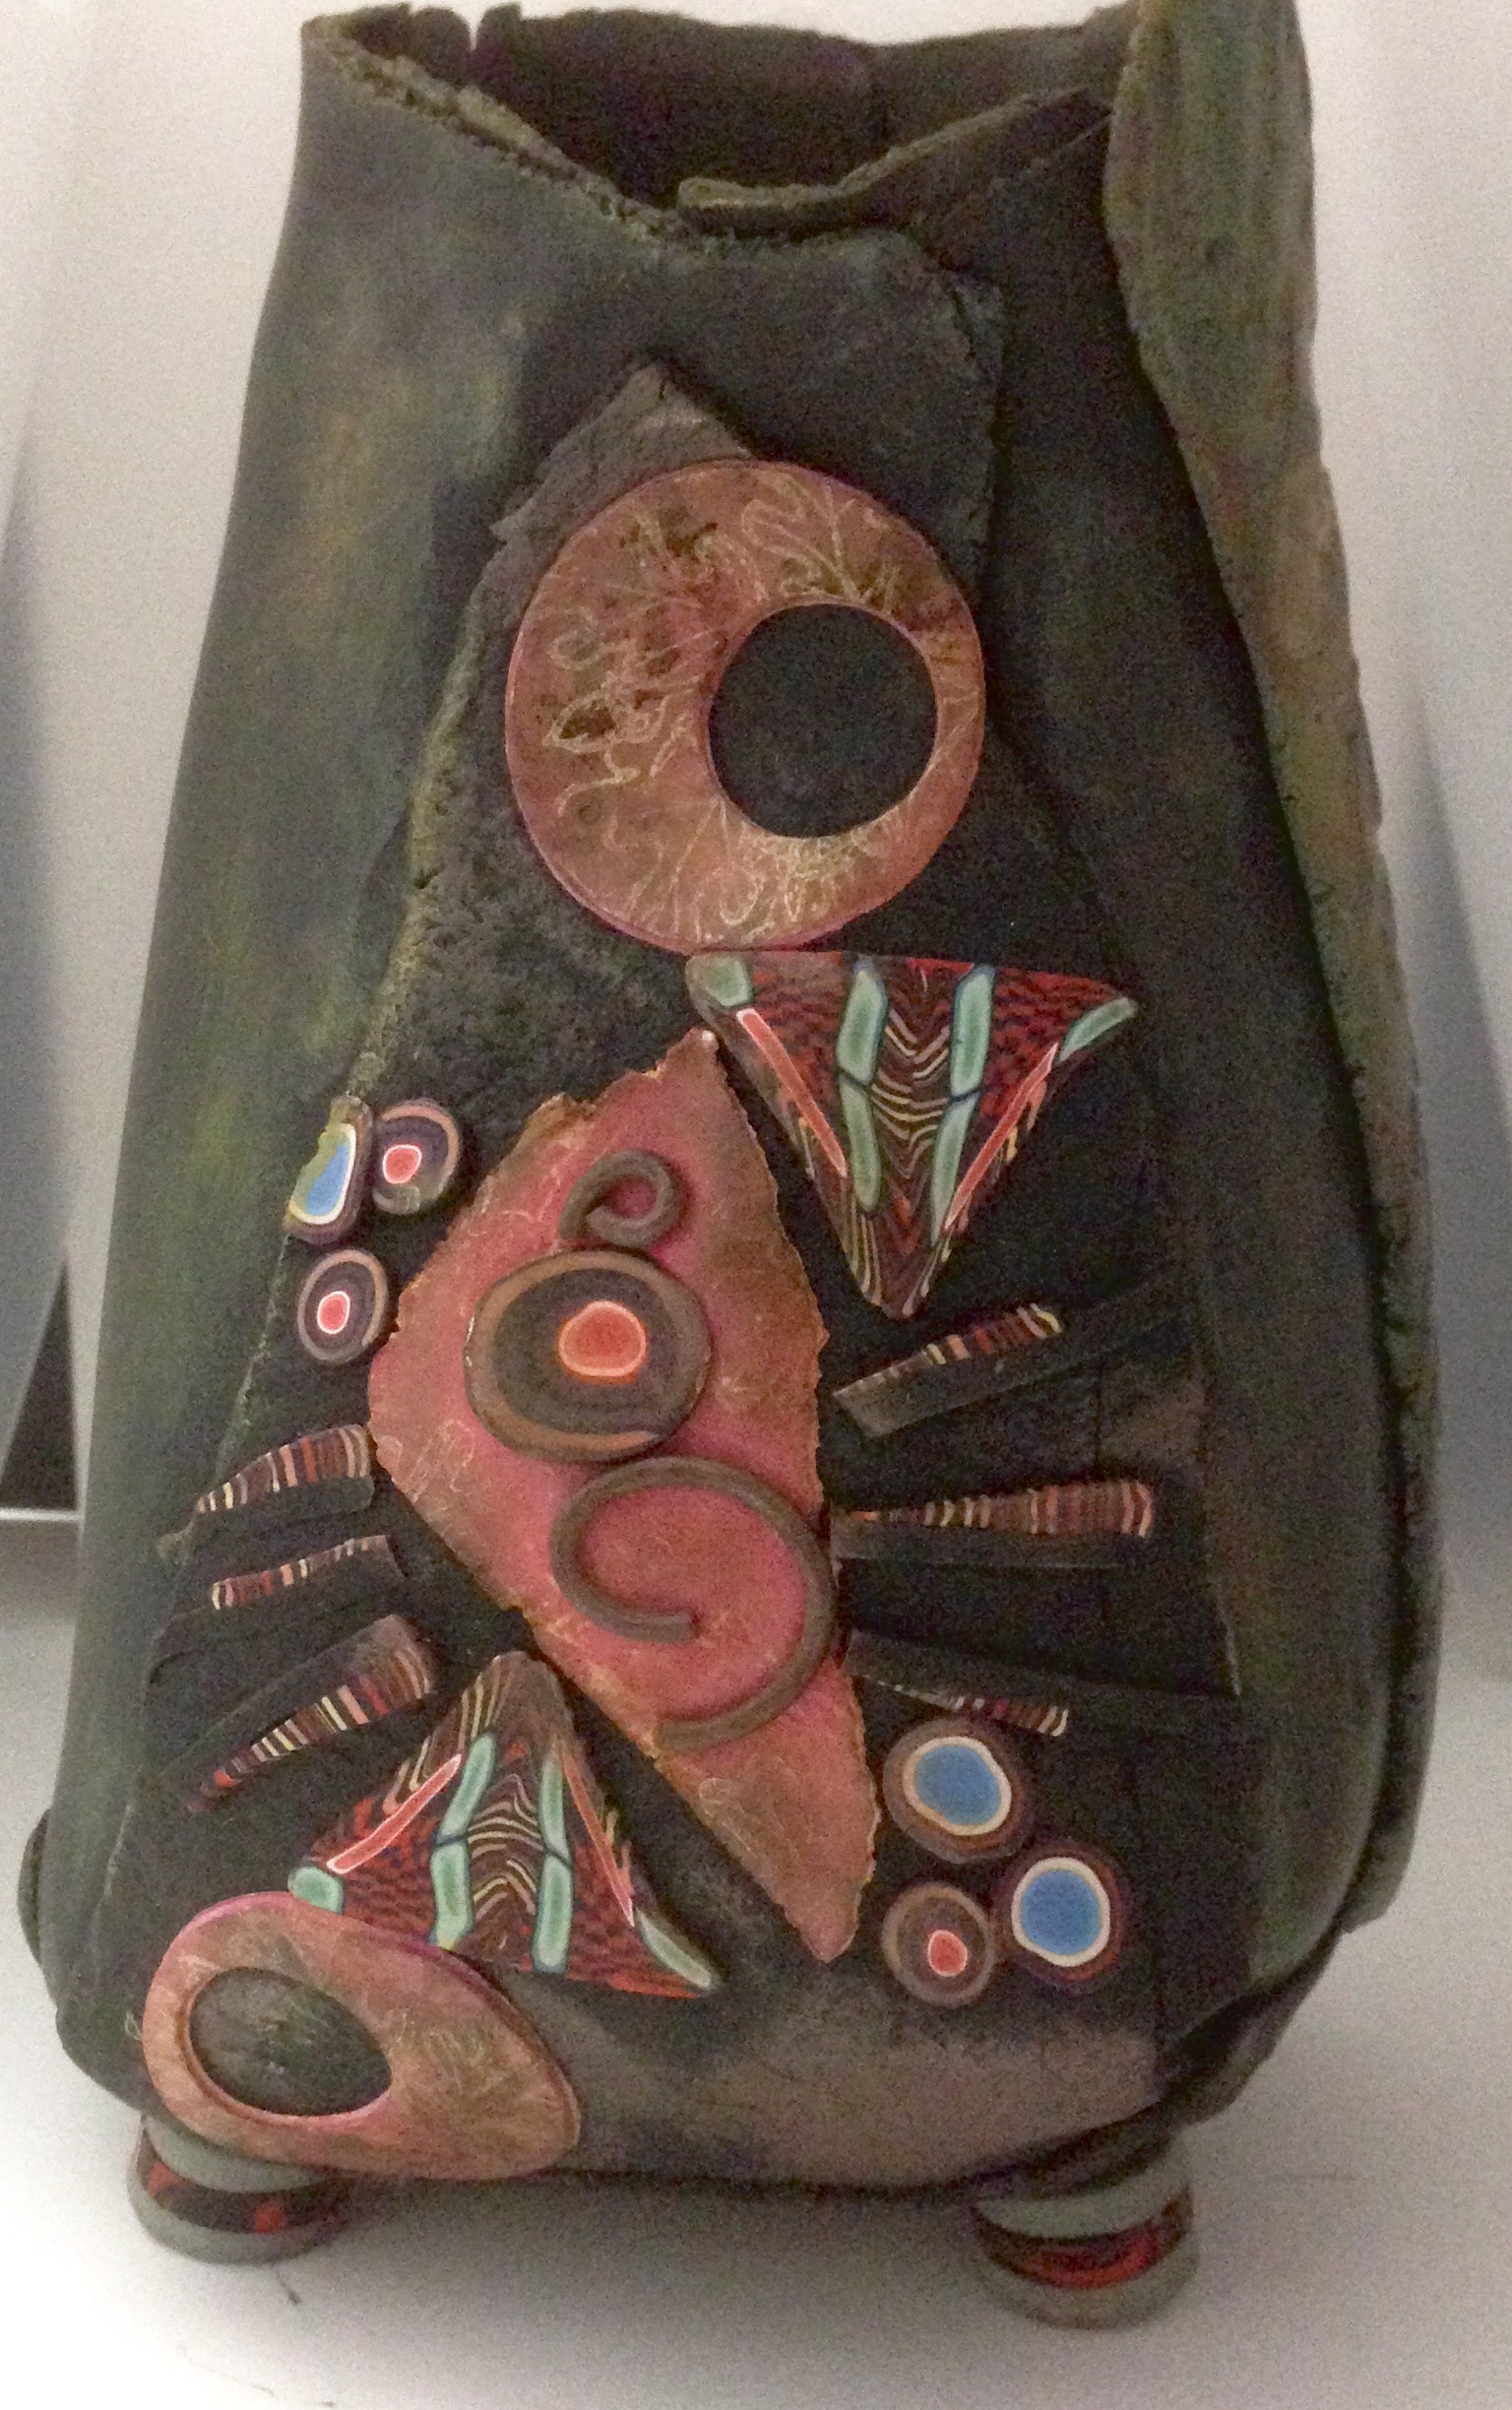
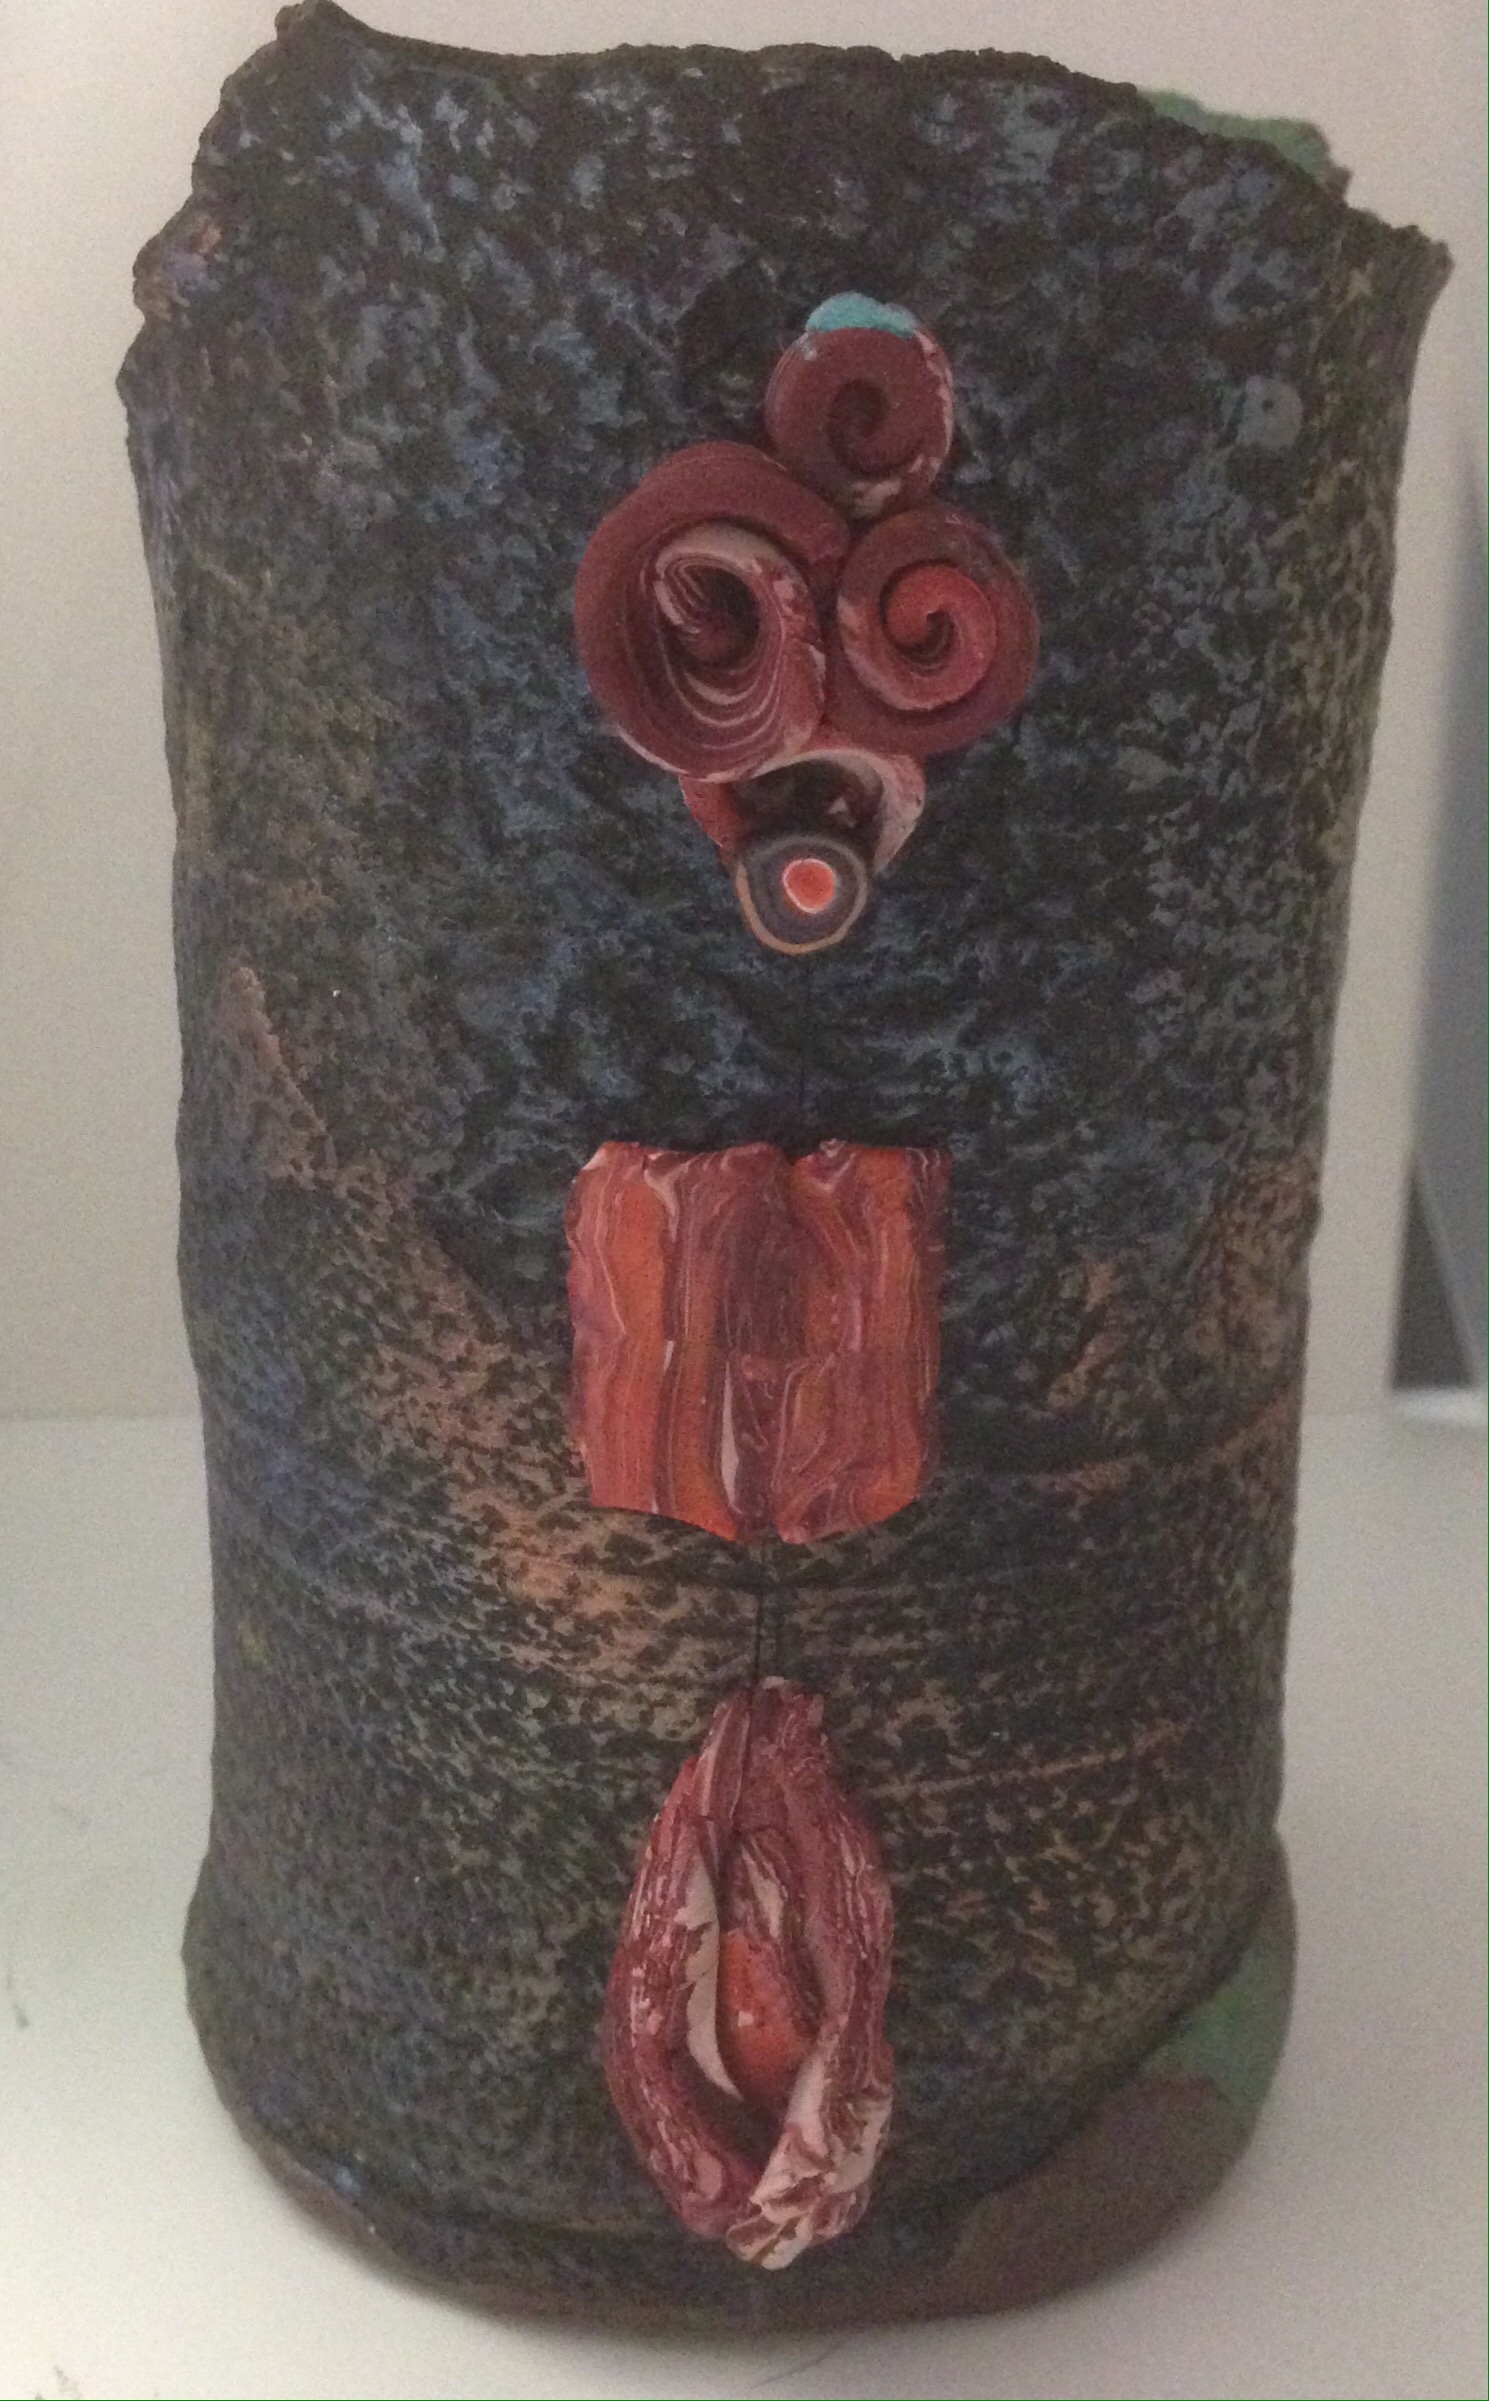 I added several layers of inks and mica powders on the back of this piece, re-fired it with a line of liquid polymer to close the seam up, and then added the red poppy pieces along the seam. The poppy sections are extras from the ABS challenge this month, with lots of striping, translucent colors, and irregular textures and I liked the warmth that they bring to the back of the vessel.
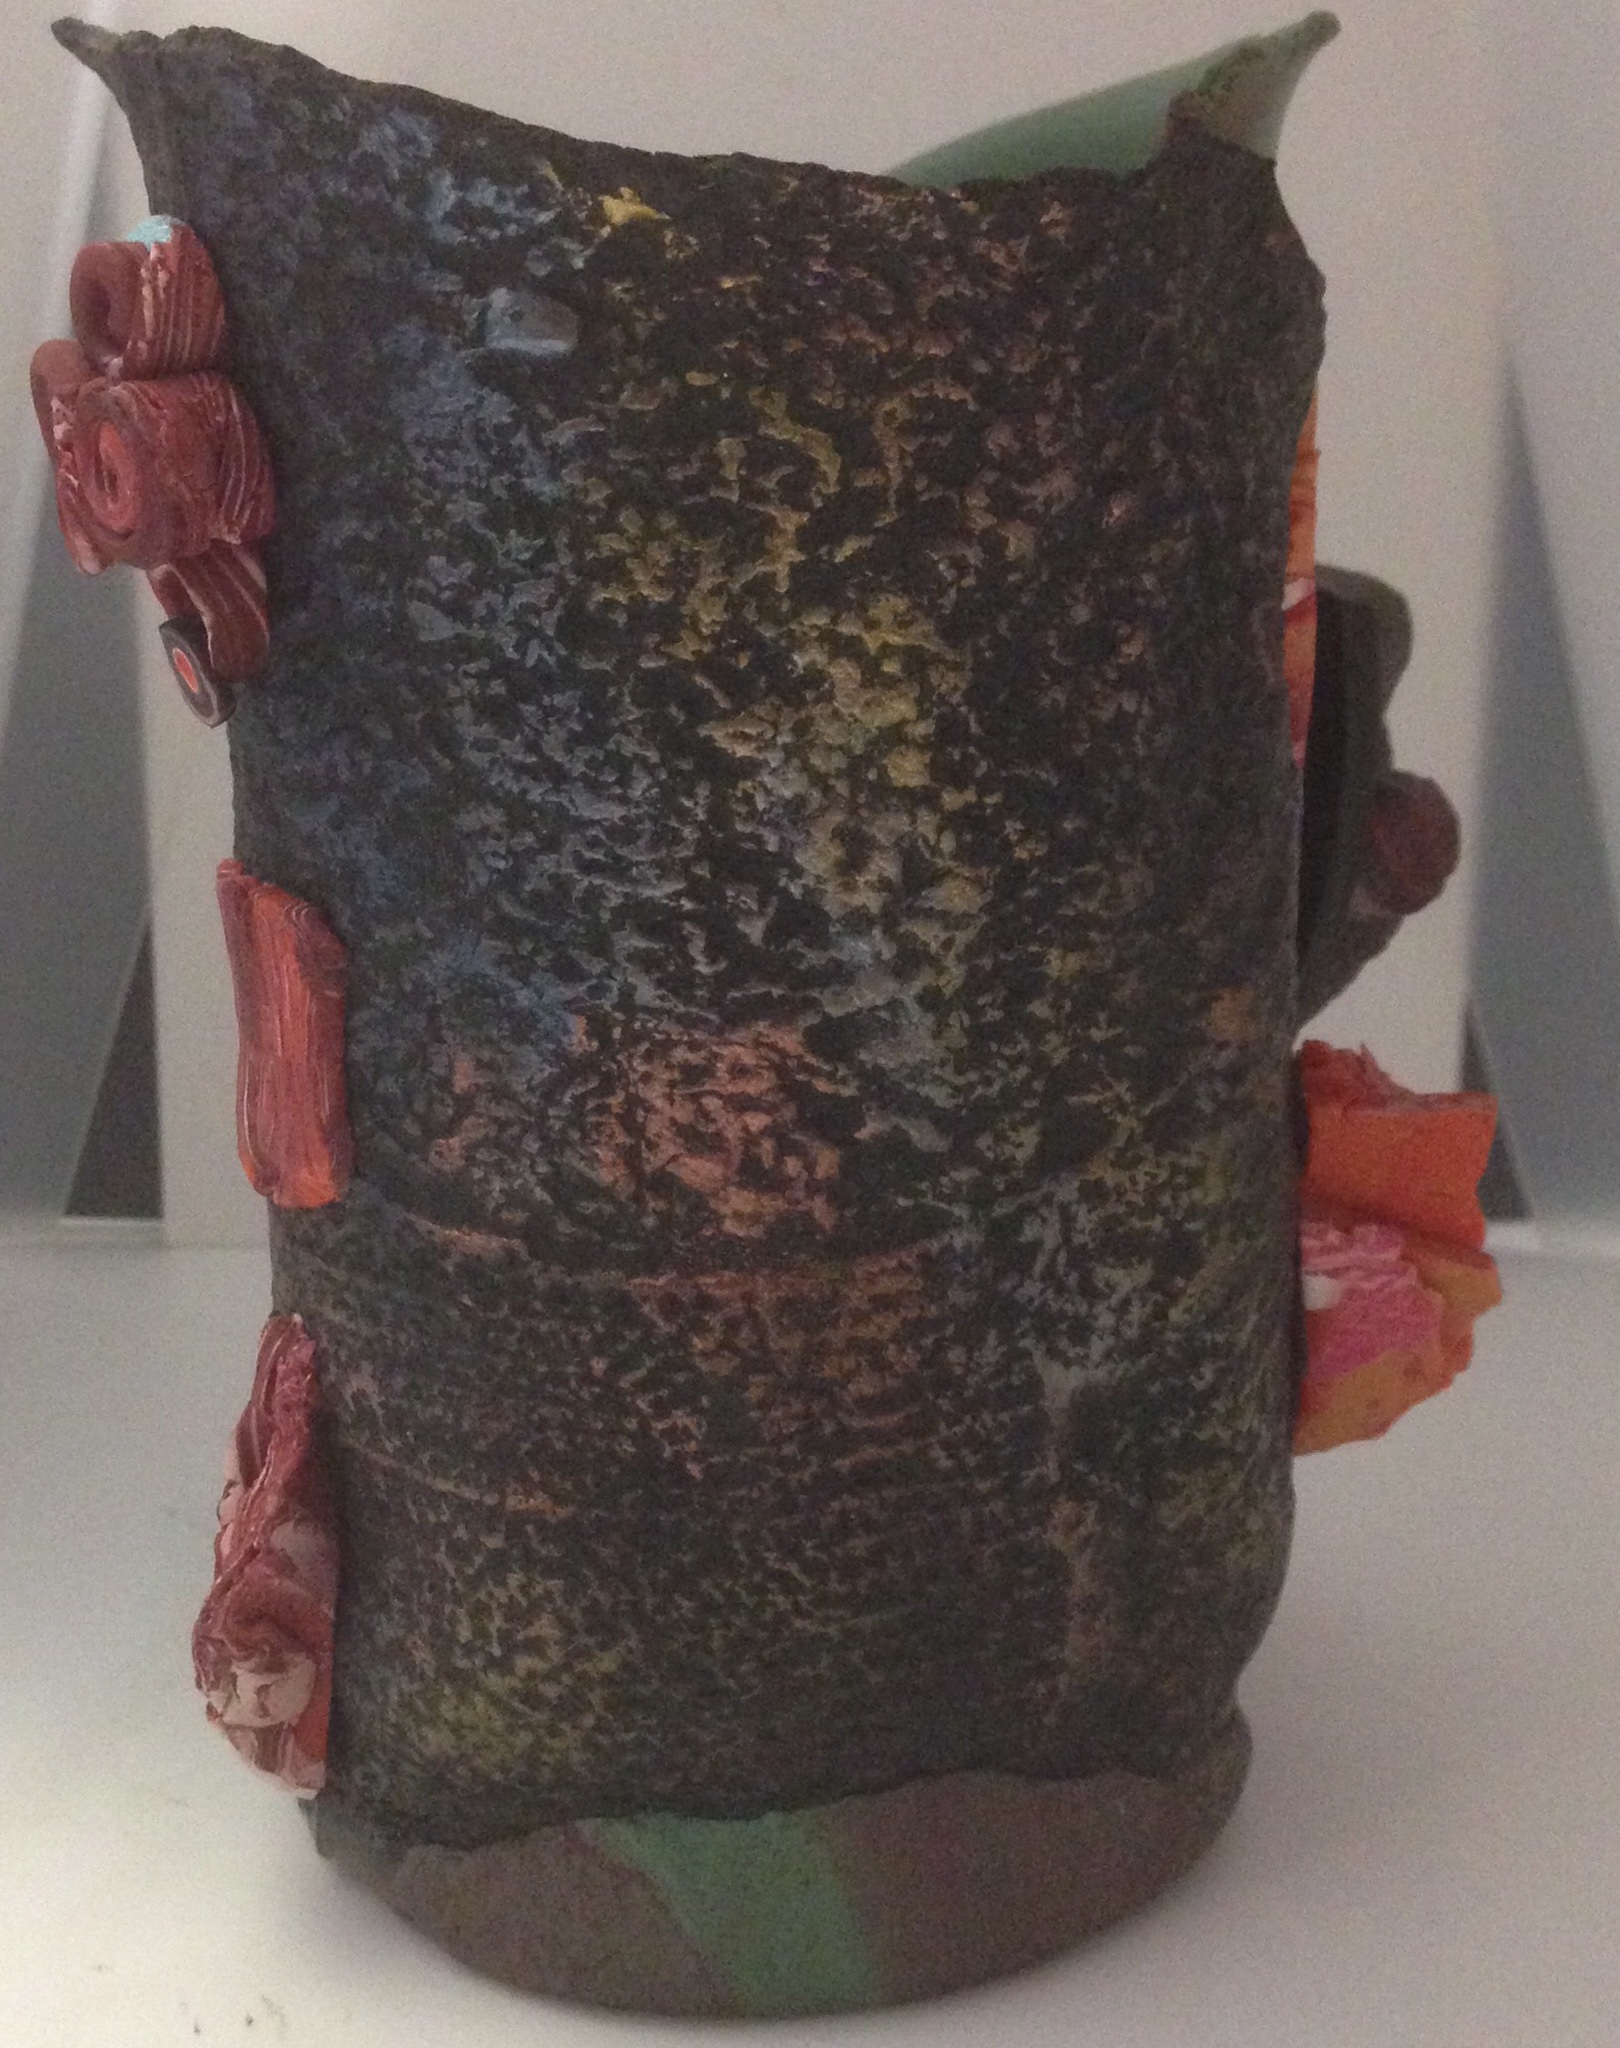
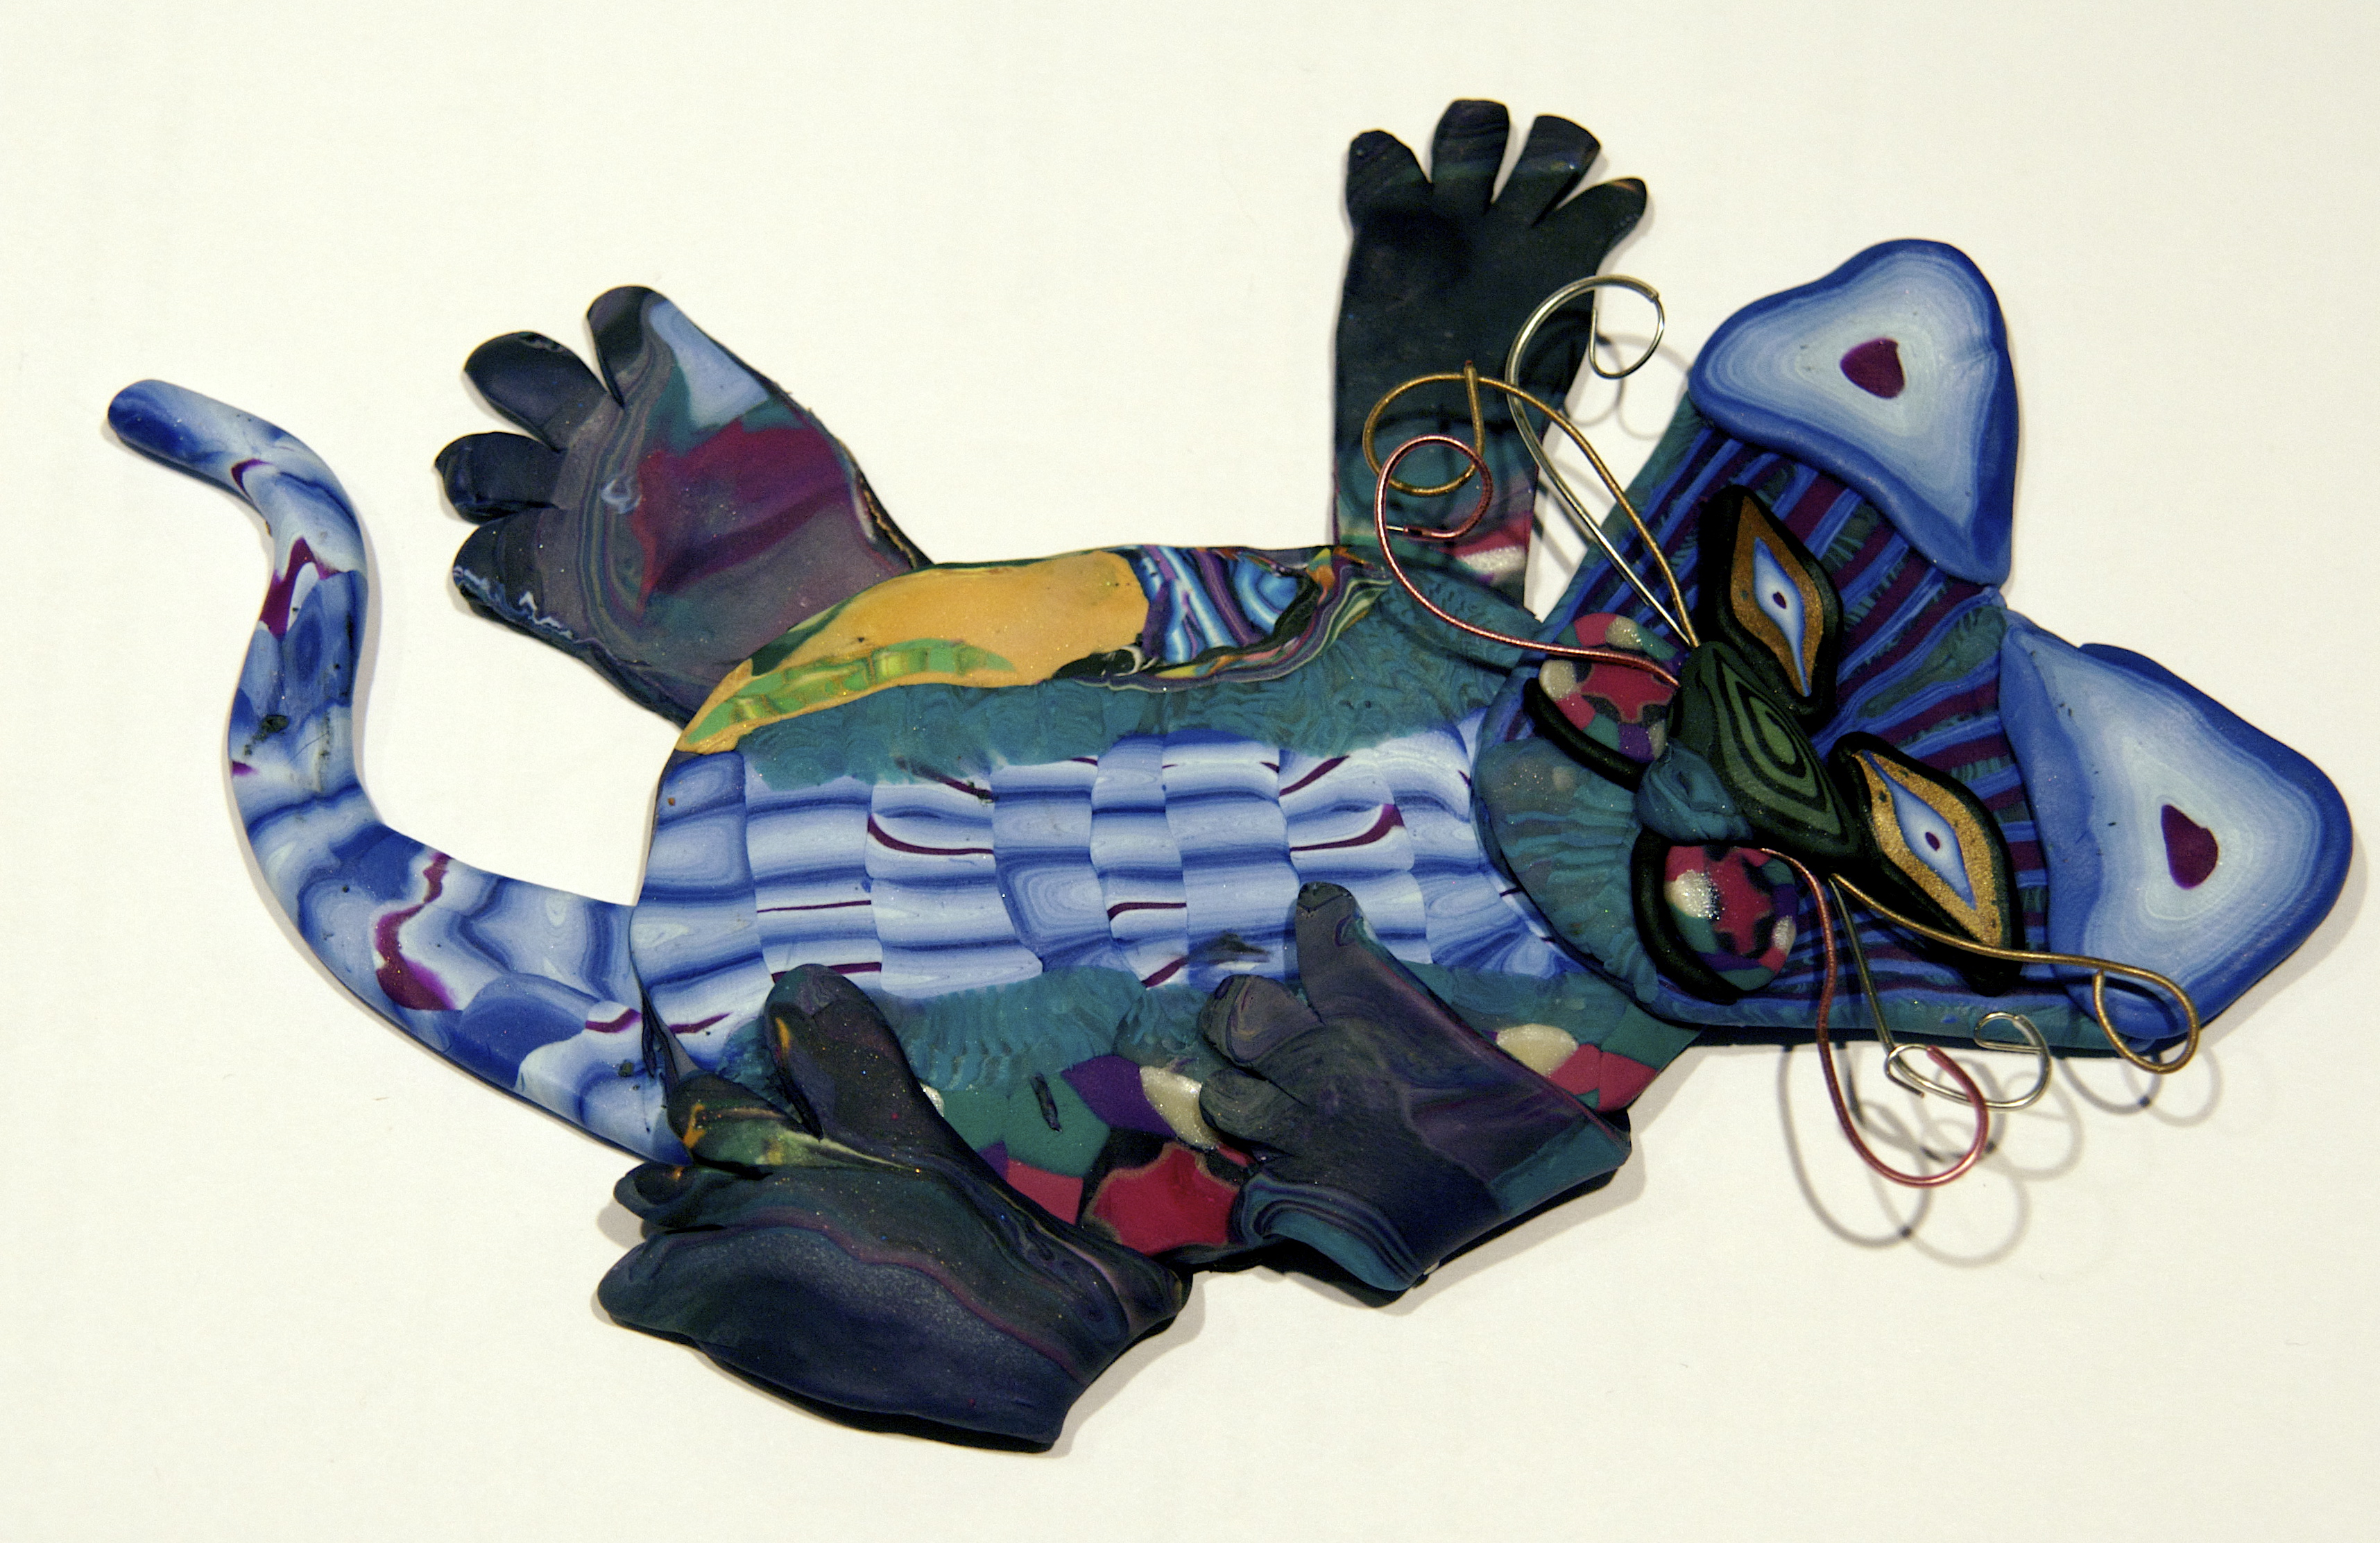
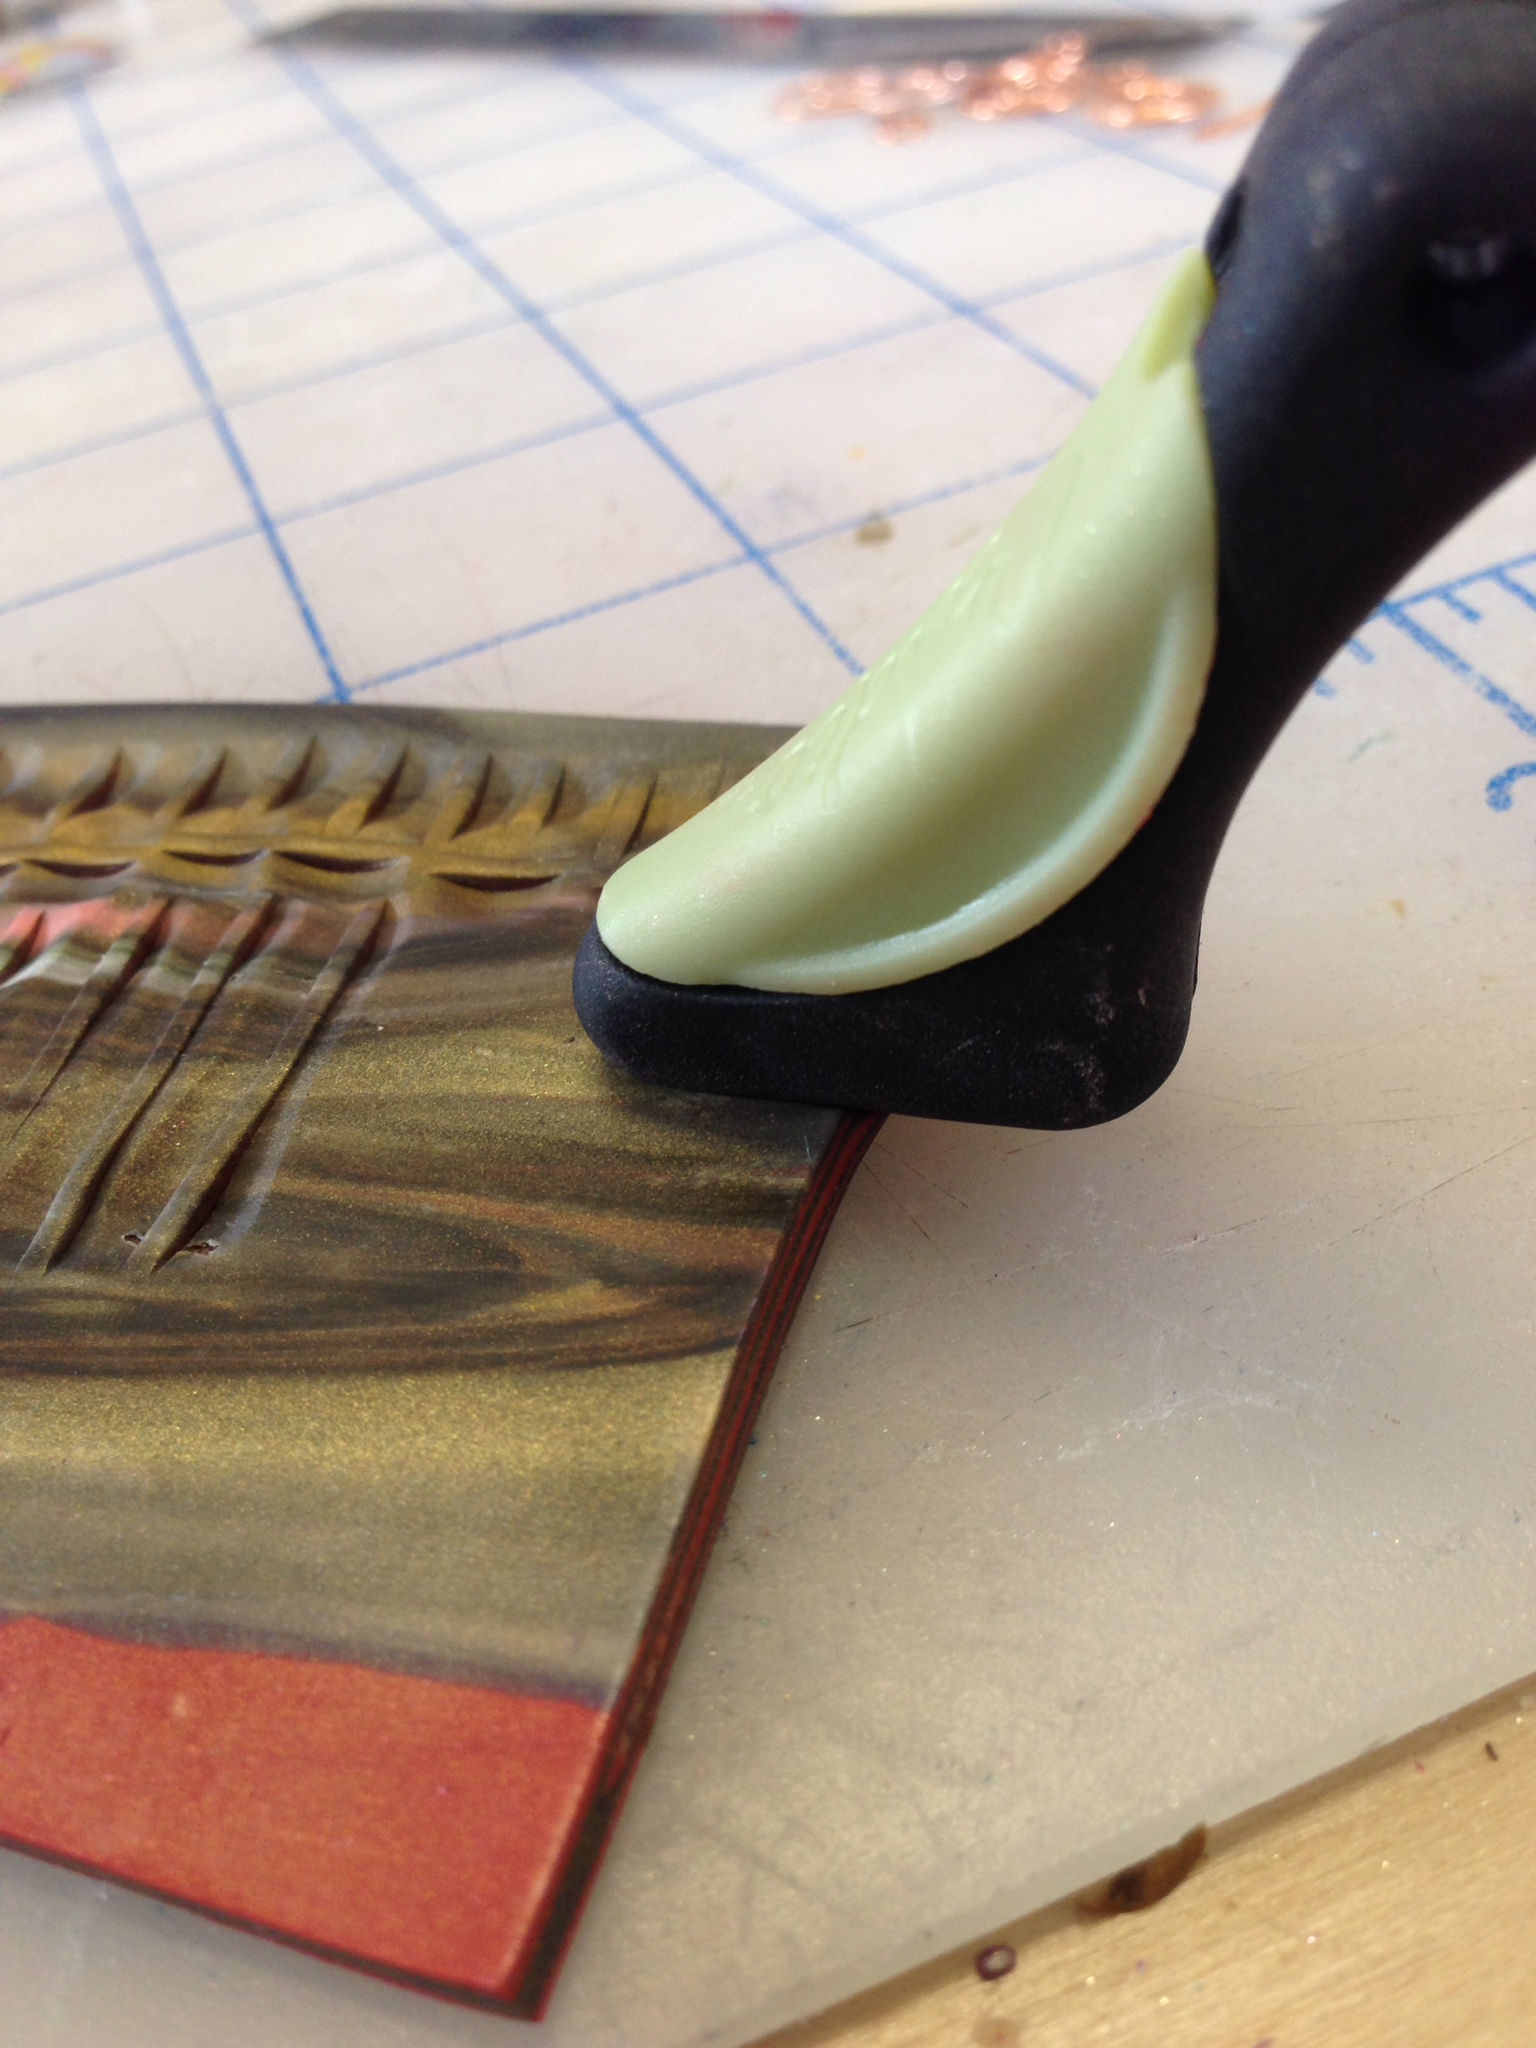
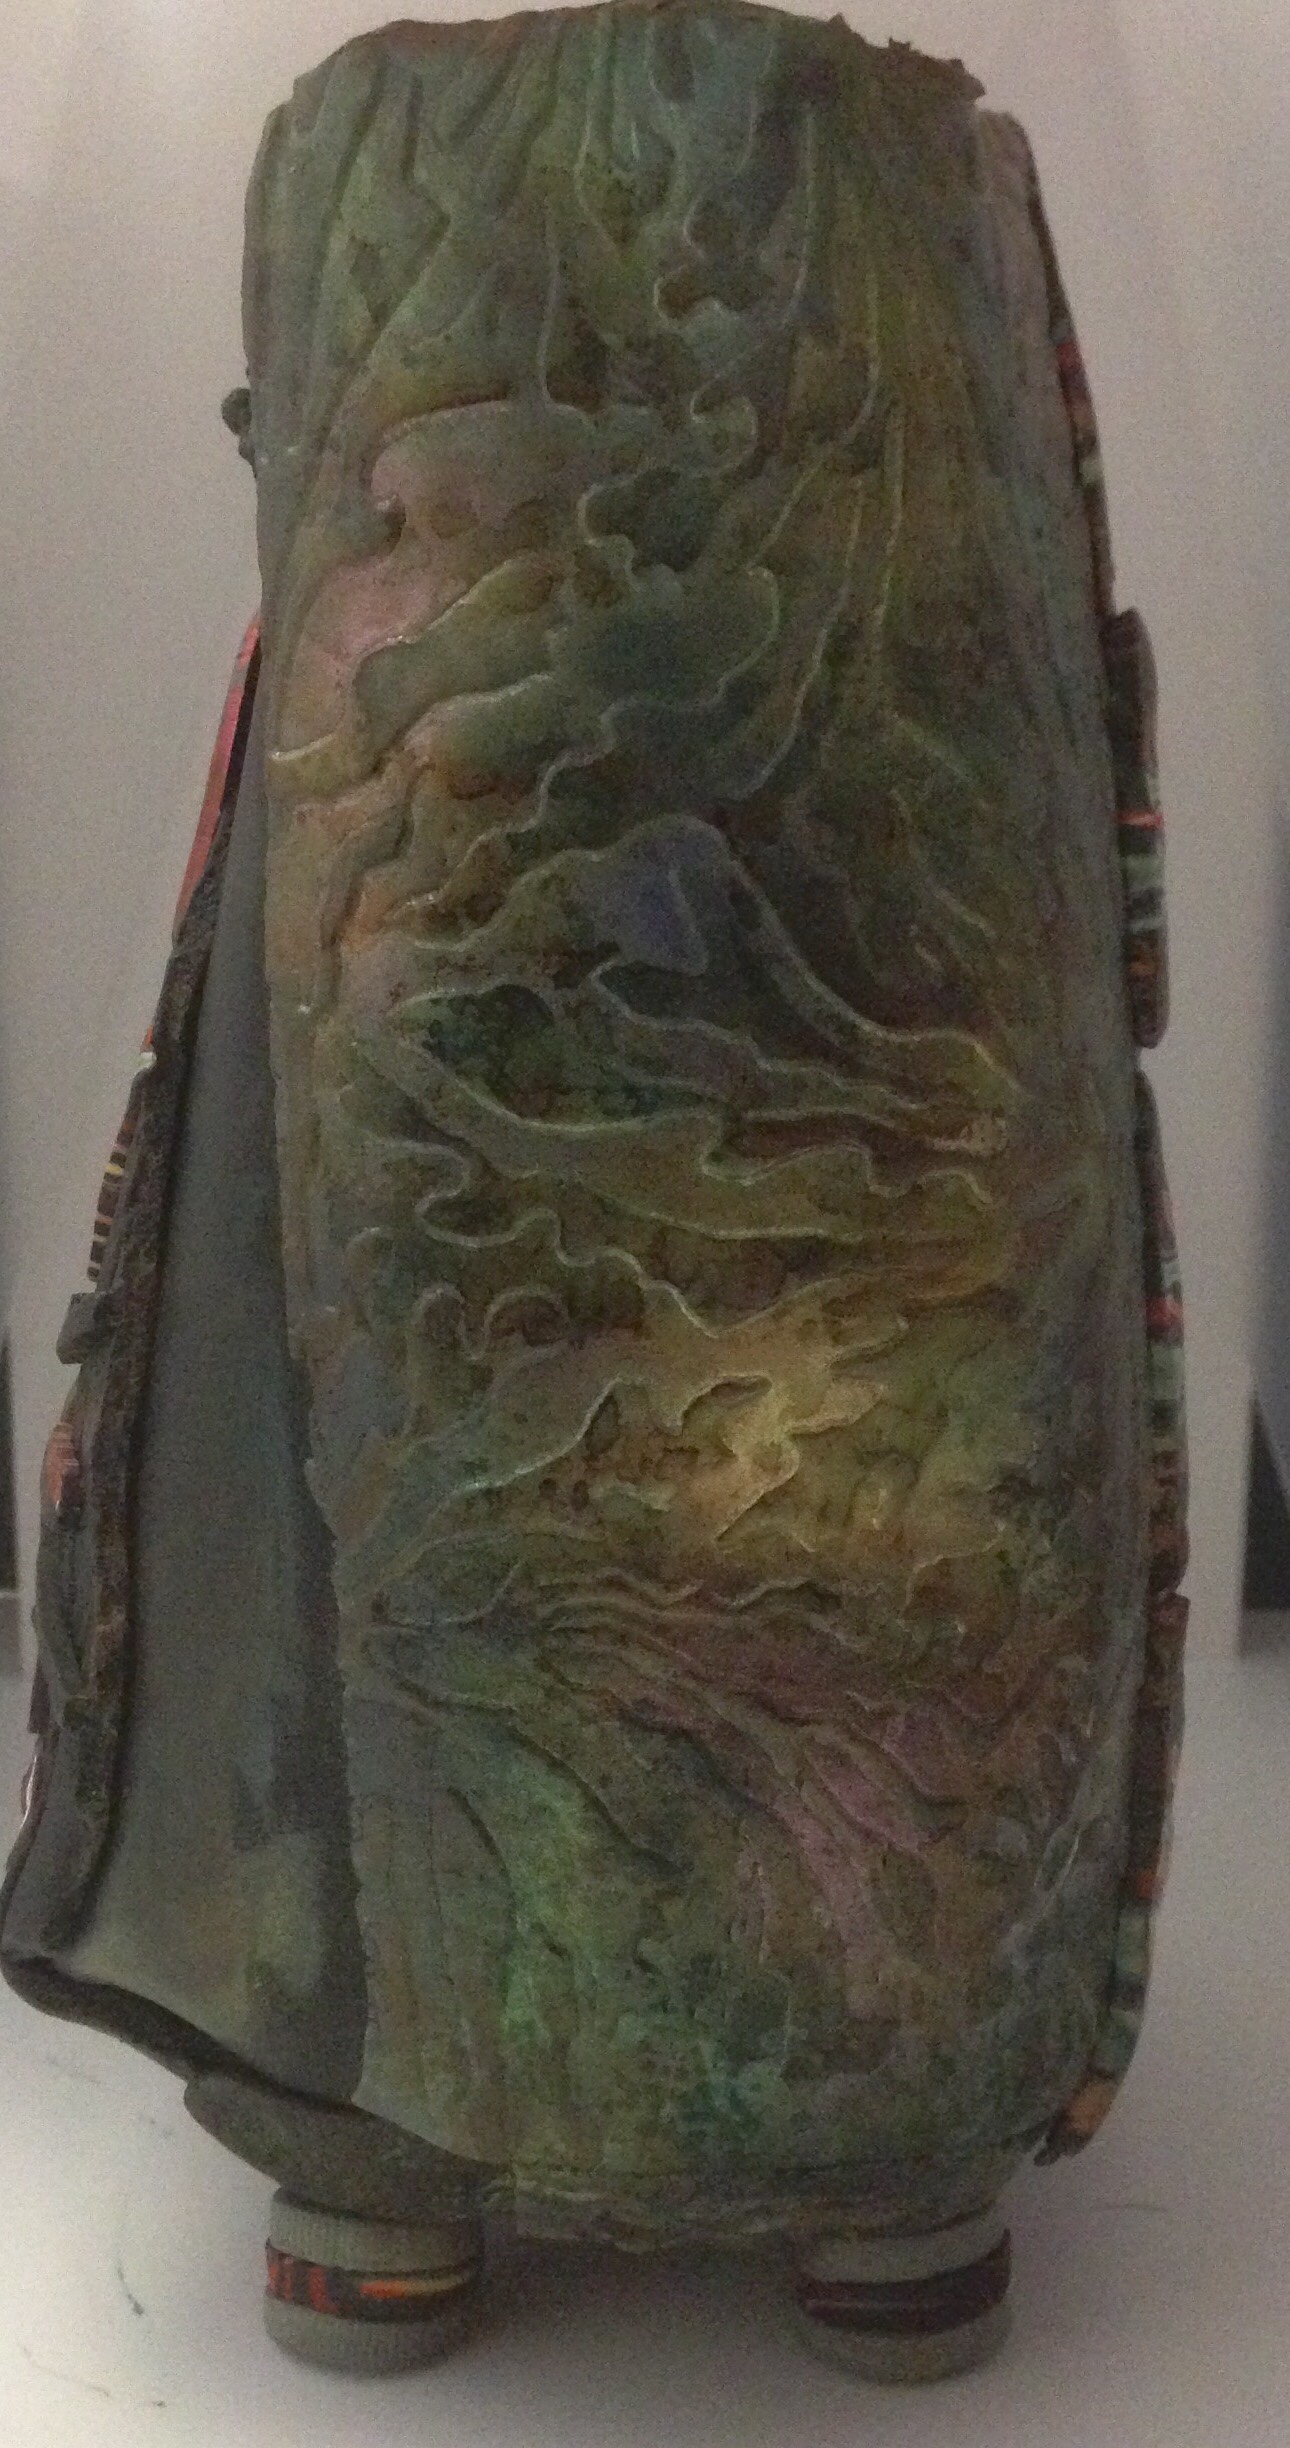
I went on to explore the layering of inks on the flat surface of the other vessel as well as on the textured piece that I added over the opening created by enlarging the crack on that piece to make it sit more squarely. The “kelp” texture is one that I have had for a long time that came from an art store rather than my usual polymer oriented sources. I wanted to figure out a finish that would go with the flowing lines and make it look like a dark corner of a reef sparkling with shifting light from waves above.
 Once I reached a point that I liked for the textured area, though, the matte black of the rest of the body seemed unconnected, so the ink pads came back out to see what could be done to unify things. The coloring on that portion is much more subtle, but did serve to break up the surface and bring the sections together.
The little feet added stability and a bit of whimsy to the piece overall. I think there may be more feet appearing on vessels as they continue to evolve!